


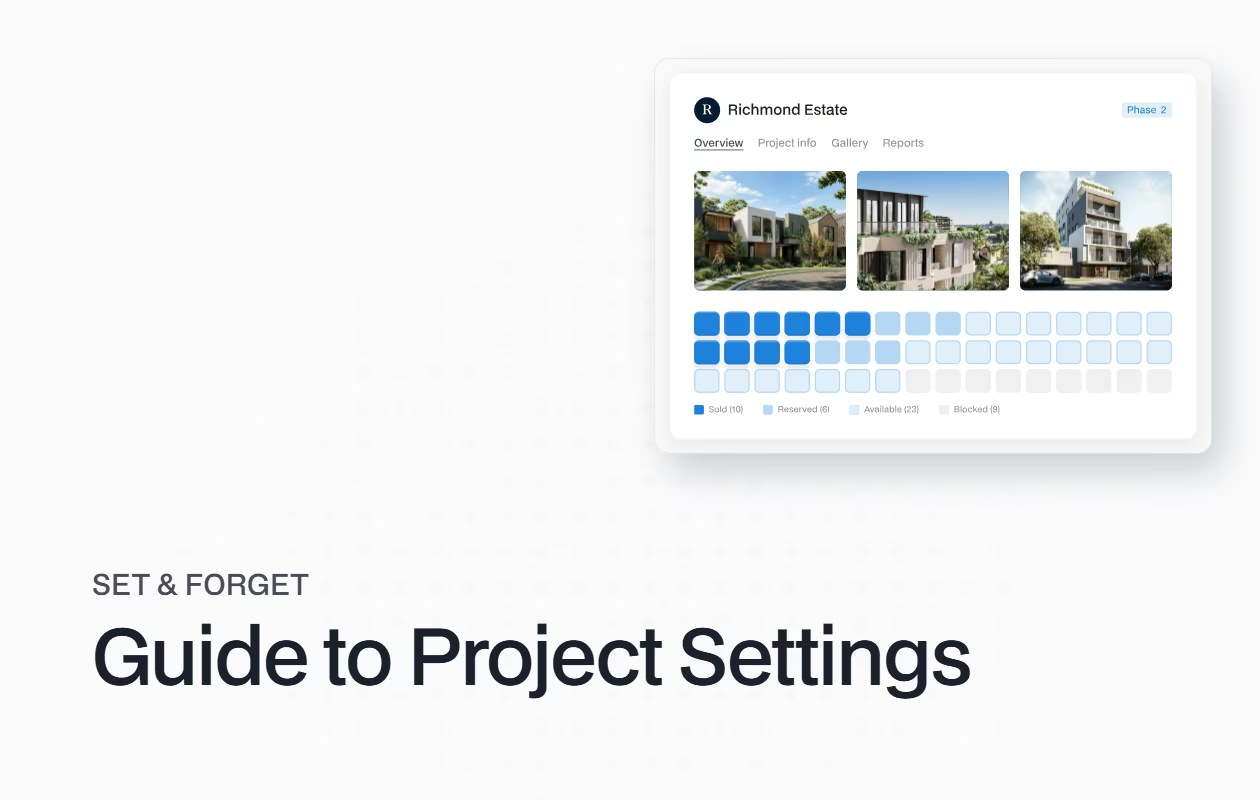
Welcome to Property Shell: Your Guide to Project Settings
Welcome aboard! If you're an account admin or your organisation's project champion diving into Property Shell, you’ve likely noticed there are several key areas where you can manage settings across the platform.
This guide walks you through the essential project settings, how they impact your day-to-day operations, and how to make the most of them.
Project Settings: Your Project’s Control Panel
Each project in Property Shell comes with its own set of controls—think of them as the levers and dials that shape how your project behaves. From automating deposit amounts to customising the stacking plan, here’s what you need to know:
General Settings
- Name: Enter your project name here. This name appears across various parts of the system, especially in marketing and Lead Management. Inconsistent naming can lead to miscommunications, such as leads being misassigned.
- Project Type: Communicates the nature of the project to your team. It’s a simple label but helps with internal clarity.
- Default Tax Rate: Automatically calculates GST based on the rate you set.
- Default Colour Schemes: Enter a comma-separated list of colour schemes to populate the dropdown menu for sales.
- Category: Groups your project in the left-hand menu for easier navigation.
- Carpark and Storage Management: Enable this to manage carpark and storage allocations independently—ideal for apartment-style projects. ⚠️ Changing this setting will recalculate carpark and storage counts.
- Enable Stages: Allows you to manage and report on project stages directly from the project’s info tab.
About Section
- Hero Image: Choose an image (often the project logo) to display at the top of the stacking plan.
- Project Description: Write a clear, compelling summary of your project. This helps sales agents, channel partners, and others unfamiliar with the property quickly understand what it’s about.
Reservation Settings
These settings determine how reservations are handled within your project. Here’s what you can configure:
- Require Deposit: Salespeople must enter a deposit to complete a reservation.
- Require Evidence of Sale Upload: Requires a receipt or proof of payment to finalize a reservation.
- Allow Variations in Reservation Form: Enables custom variations to be added directly in the form.
- Allow Packages in Reservation Form: Lets you include buyer upgrades or developer incentives.
- Require Approval: Reservations need admin sign-off before being locked in.
Note: These requirements apply only to users without permission to approve reservations or edit sales. - Days to Action Long Reservations: Properties reserved beyond this number of days will appear in the task menu as overdue contracts.
- Reservation Deposit Amount: Set the standard deposit amount for initial reservations.
Full Deposit Settings
This section automates how full deposits are tracked and managed—like having a lifeguard watching over your payments.
- Full Deposit Amount Percent: Automatically calculates based on the contract price, or leave blank for manual entry.
- Full Deposit Due Days After Contract Signed: Creates follow-up tasks for unpaid deposits.
- Full Deposit Triggers Exchanged Unconditional: Updates the sales status once the full deposit is received.
- Allow Contracts Without Full Deposit: Adds flexibility to mark contracts as unconditional even if the full deposit hasn’t been recorded.
Account Settings: The Big Picture
Getting your settings right in Property Shell is like setting up the perfect beach umbrella—once it’s in place, you can relax and enjoy the view. Whether you're launching a new project or refining an existing one, these settings give you the control and flexibility to keep everything running smoothly.
For more details, check out the in-depth article on project settings in our Knowledge Base.
So grab your sunnies, take a deep breath, and dive into your settings with confidence.


Discover how Property Shell can accelerate your sales pipeline and automate manual ledgers.
